The last couple of weeks we started pop art with Mr Johnston, focussing on the printing process. This was a lot of fun learning a new skill and being able to use an ink roller.
Here are some of our beautiful prints, displayed in our school foyer.

The last couple of weeks we started pop art with Mr Johnston, focussing on the printing process. This was a lot of fun learning a new skill and being able to use an ink roller.
Here are some of our beautiful prints, displayed in our school foyer.
To pay tribute to those that have fallen during WW1, soldiers and animals, our class created these beautiful poppies to add to our display. The red poppies represents the fallen heroes and the purple poppies those animals that served.


Apart from our fallen heroes, many animals served in WW1. Along with our poppy display, we researched the “famous” animals that helped our soldiers.
Here are some of the amazing animal portraits.


This week we moved into the second stage of our printing process. This process requires us to work with a hot glue gun. Mr Johnston clearly explained the dangers of not using it correctly.
Alex demonstrated what needs to be done with the hot glue. This step in the process is about tracing the outlines of the picture with the hot glue. It needs to be “thickish” in order to make a clear print. Once this process is completed, we let the glue dry. Next week, we will be using the ink roller to add colour and finishing off our print.


This week we are starting with a new art project with Mr Johnston. He will be teaching us about the print making process by using printing ink and an ink roller.
Firstly, we need a black and white photo of ourselves and a piece of MDF (Medium-Density Fiberboard). We will be using the same technique as the PVA portraits we have done earlier this month.
We have to start with colouring the back of our printed photo in pencil, covering the whole area. Once that has been completed, we position the photo over the MDF and trace it as hard as possible. This way the image will transfer onto the MDF – just as we did with the PVA art work.
We have completed this process today and will continue with the next steps during the course of the week. Looking forward to the end product!
This March, our classroom took a vibrant turn as Mr. Johnston introduced us to the bold, colorful world of Pop Art (short for “Popular Art”). If you’ve ever seen those bright, comic-book-style portraits by artists like Andy Warhol, you know exactly the vibe we were going for!
We didn’t just paint, though—we used a pretty cool multi-step technique to bring our portraits to life. Here’s how we did it:
We started with a simple black-and-white photo of ourselves.
To get our image onto the final paper, we shaded the entire back of our photos with grey pencils. (you can use any dark pencil that will be able to transfer) By placing the photo face-up on a sheet of bright, colored paper and tracing our features, the pressure “transferred” the pencil lead onto the new page.
We were given squirt bottles filled with a special mixture of black PVA paint. We had to have steady hands as we traced over our transferred outlines.
The contrast between the thick, raised black lines and the colorful paper looked incredible. The finished pieces are bold, modern, and—dare I say—gallery-ready! It was a blast seeing everyone’s personality shine through in such a “popular” style. Below are just a few of our artists showing their work.


We are dedicated to empowering our students to be Agents of Change. By integrating our CARE values into group discussions and goal-setting exercises, we have collaboratively defined our classroom expectations. This framework ensures that every student is equipped to contribute meaningfully to our school culture from day one. .


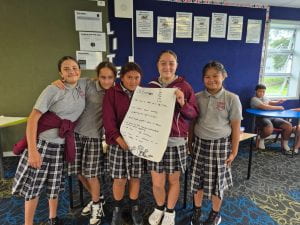
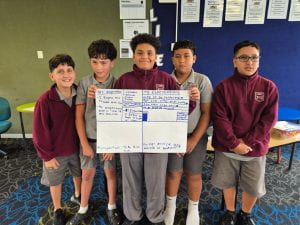


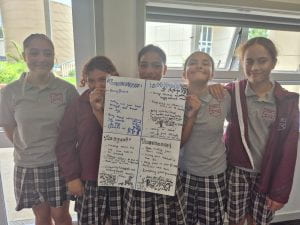

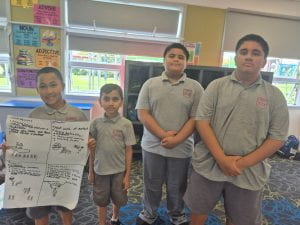
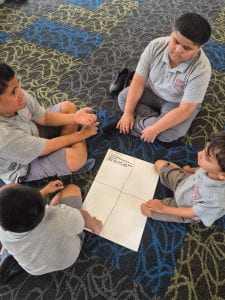
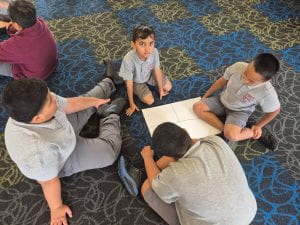

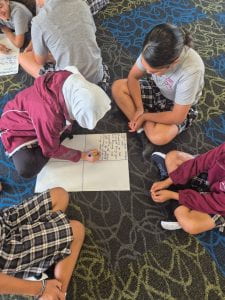
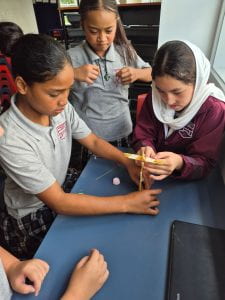
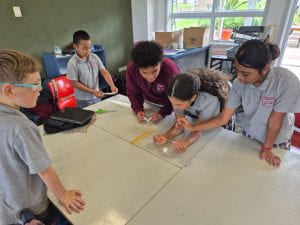
During the initial days of the academic year, our primary focus was establishing a positive classroom culture through collaborative problem-solving. To reinforce the importance of communication and collective effort, students participated in the Marshmallow Challenge.
Using a limited kit—20 strands of spaghetti, one meter of tape, and one meter of string—teams were tasked with constructing the tallest freestanding structure capable of supporting a single marshmallow. The exercise followed a strict 18-minute timeframe: a two-minute strategic brainstorming phase followed by 16 minutes of active construction. While the height of the towers varied, the true objective was to observe and refine how we communicate under pressure and function as a cohesive unit. 


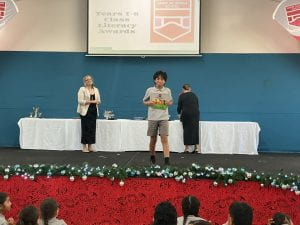


 On Thursday, December 18th, we held our annual Panmure Bridge prize-giving ceremony. The atmosphere was electric, filled with excitement and anticipation from both our students and their families.
While we are incredibly proud of everyone’s hard work, we would like to extend a special congratulations to the following award recipients from LS1:
Most Outstanding Literacy: Angelo Puloto
Most Outstanding Numeracy: Kato Uong
Class Award (Most Improved/Best Effort): Aryna Marchi-Morini
Year 4-6 Special Award for Literacy: Micaela
Year 4-6 Special Award for Mathematics: Kato Uong
I am super proud of all of you! To the rest of LS1, well done on your personal achievements and growth throughout the year. It has been a pleasure watching you all succeed.
May you have a blessed Christmas !
What an absolutely incredible school year it has been! From all of us in LS1, we send our heartfelt thanks and best wishes. Wishing you and your whānau a joyful Merry Christmas and a happy, prosperous 2026!